
How to Run OnTrack with Ubuntu on an External SSD
Requirements
- A PC with Windows 10 installed.
- An external SSD with at least 64GB of storage.
- A USB drive with at least 8GB of storage. (Recommended)
1. Download Ubuntu and Rufus
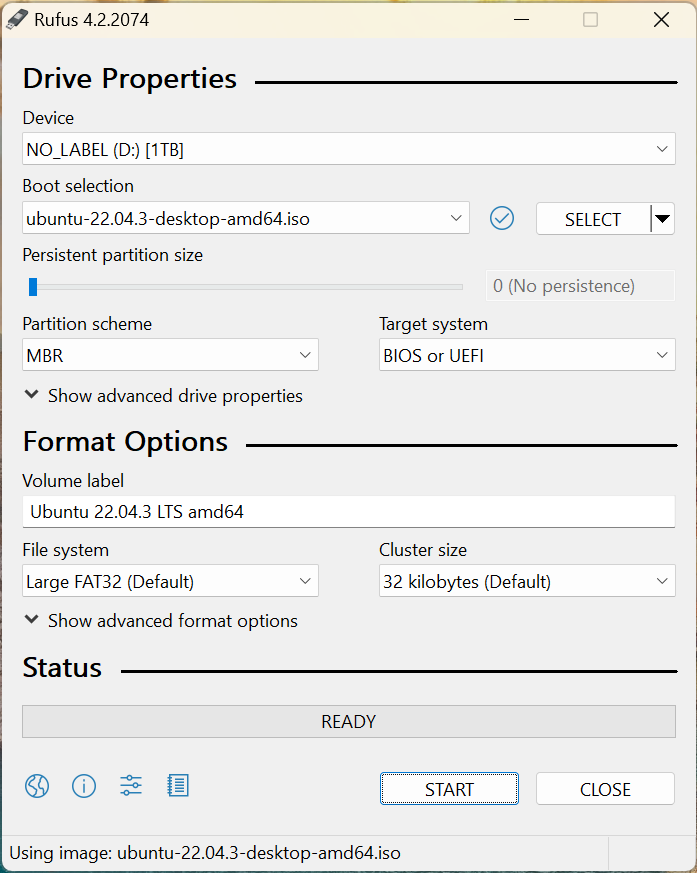
2. Create a Bootable USB Drive
-
Open Rufus.
-
Select the USB drive from the ‘Device’ dropdown.
-
Click the ‘SELECT’ button to choose the Ubuntu ISO (should be in your downloads folder).
-
Click the ‘START’ button at the bottom.
3. Prepare Booting
-
Plug the USB or SSD into your PC.
-
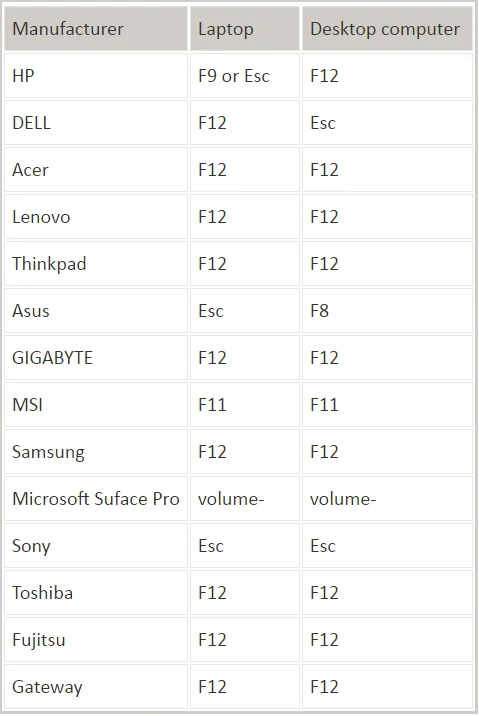
Restart your PC and continually hit the boot menu key to open BIOS settings.
-
There should be a list of boot options including Windows Boot Manager. Select the bootable USB with the Ubuntu ISO.
-
The Ubuntu OS will load in portable mode from the USB.
4. Install Ubuntu on External SSD
-
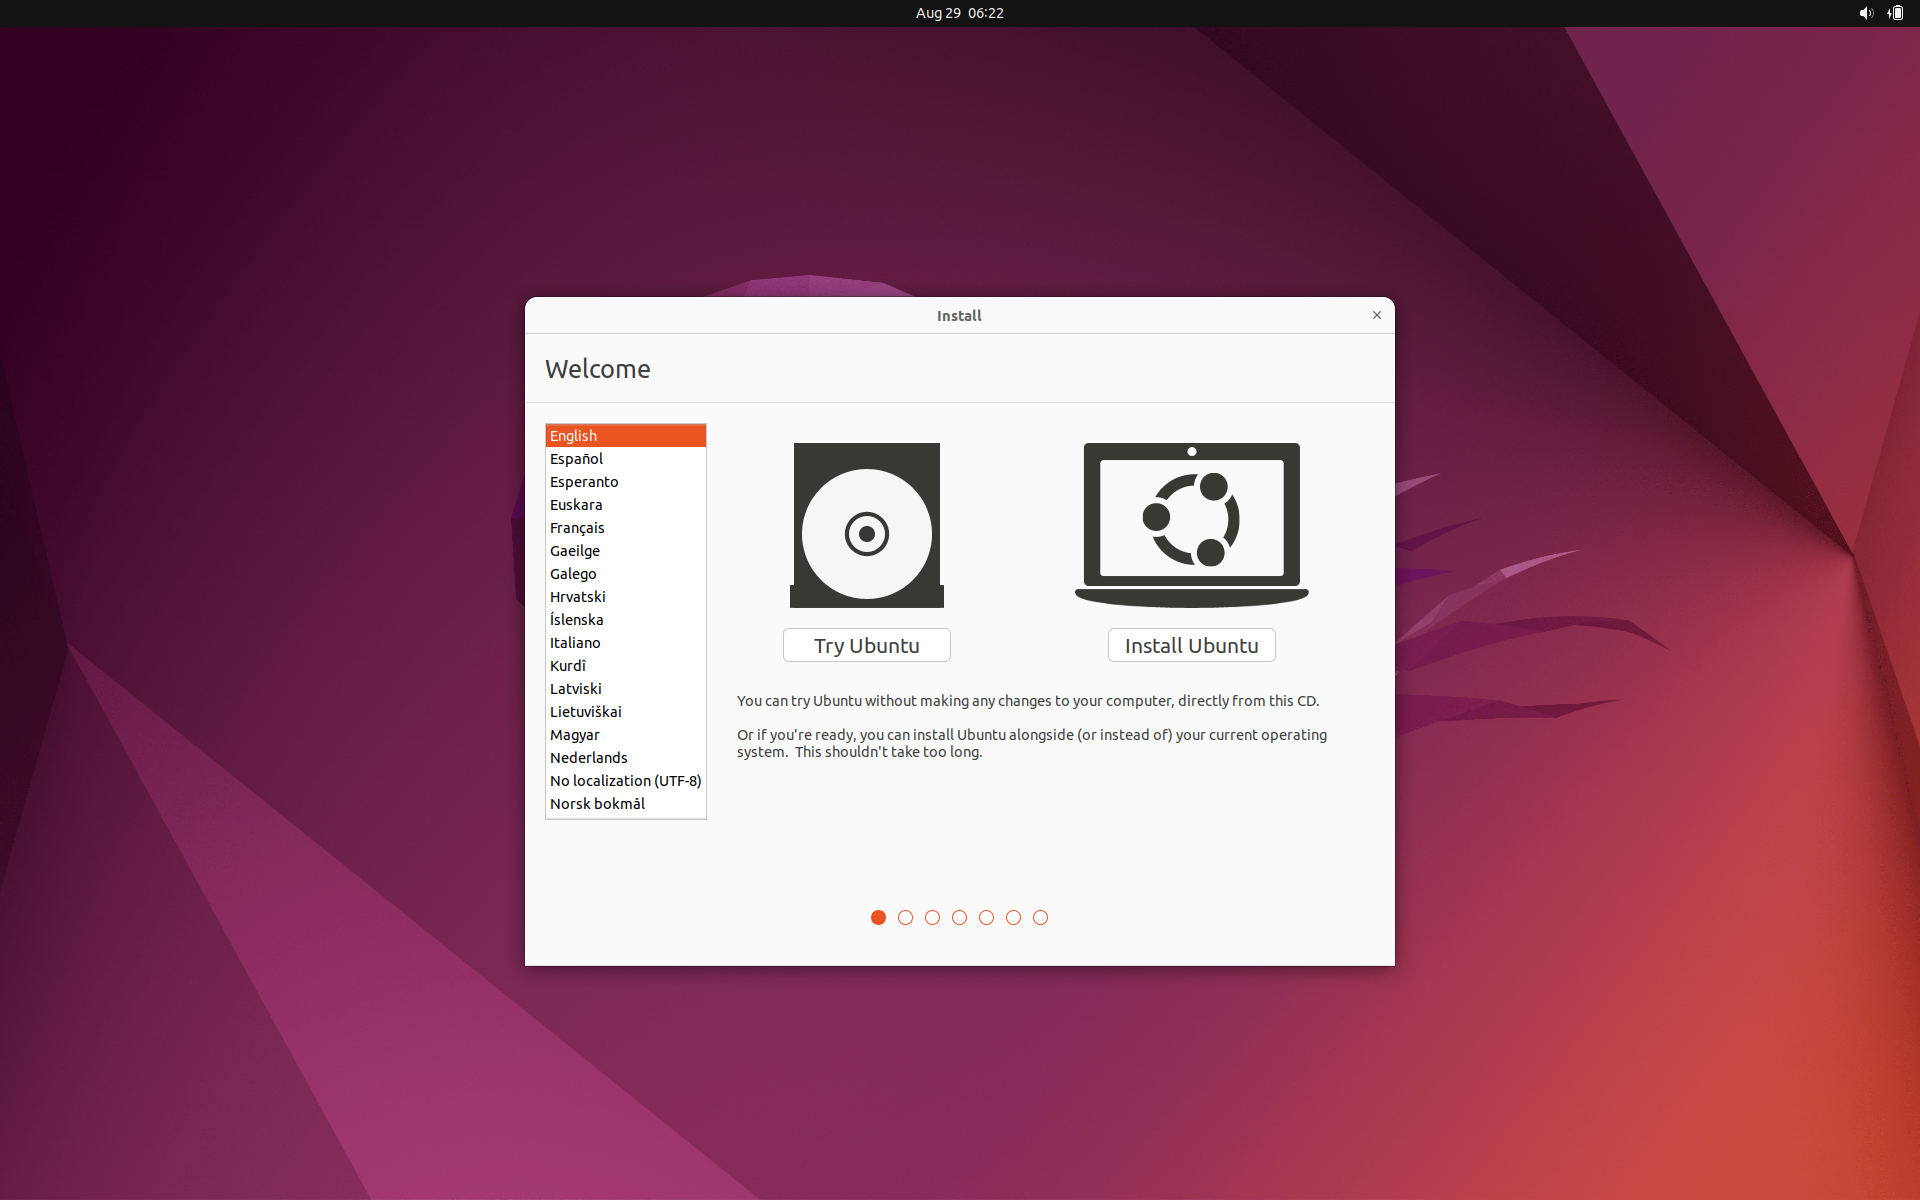
After booting into Ubuntu you should be provided with the option to Try Ubuntu or Install Ubuntu. Select Install Ubuntu.
-
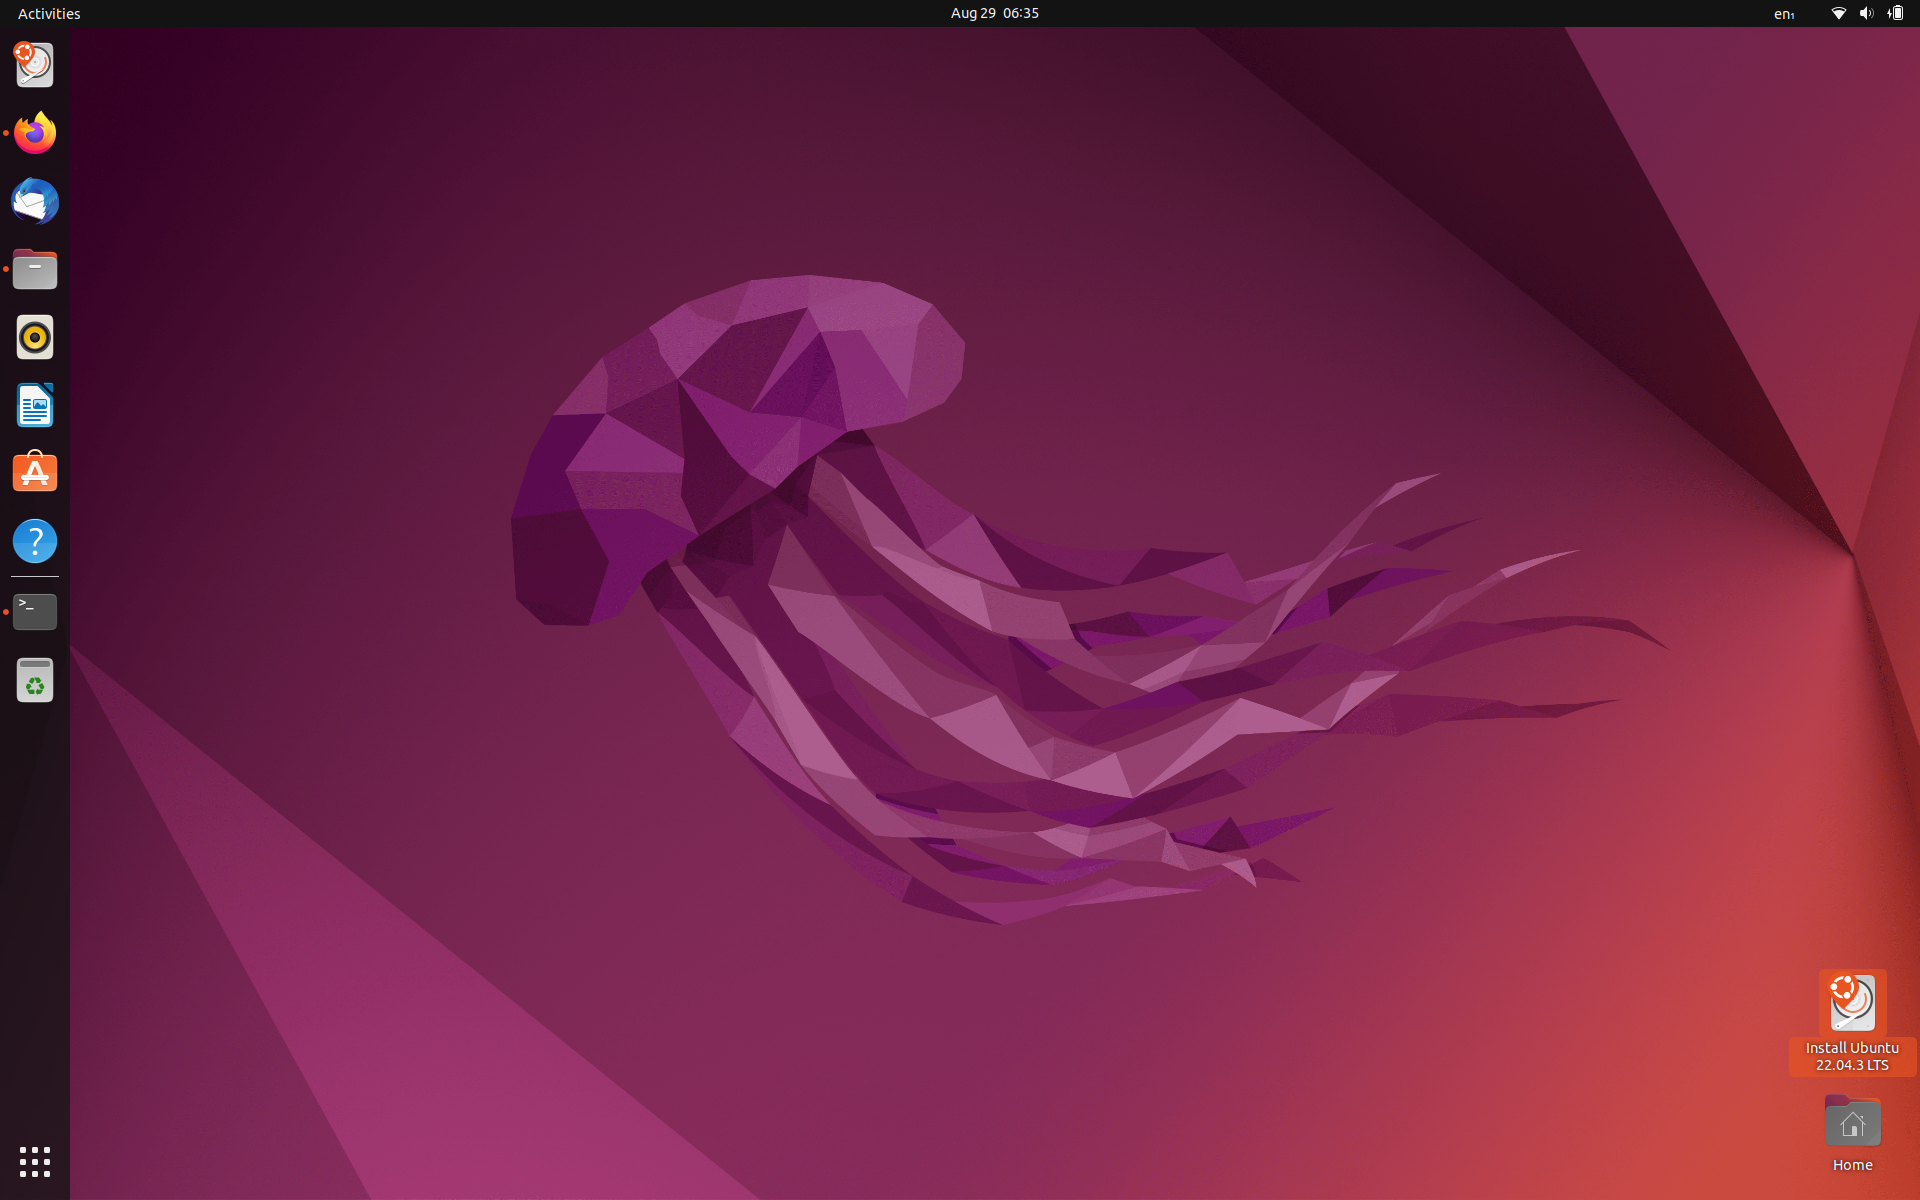
If not prompted, open the “Install Ubuntu” application from the desktop.
-
Proceed through the initial steps until you reach the “Installation type” step.
-
Choose the “Something else” option to manually configure partitions.
-
Identify the external SSD as a device like
/dev/sdb.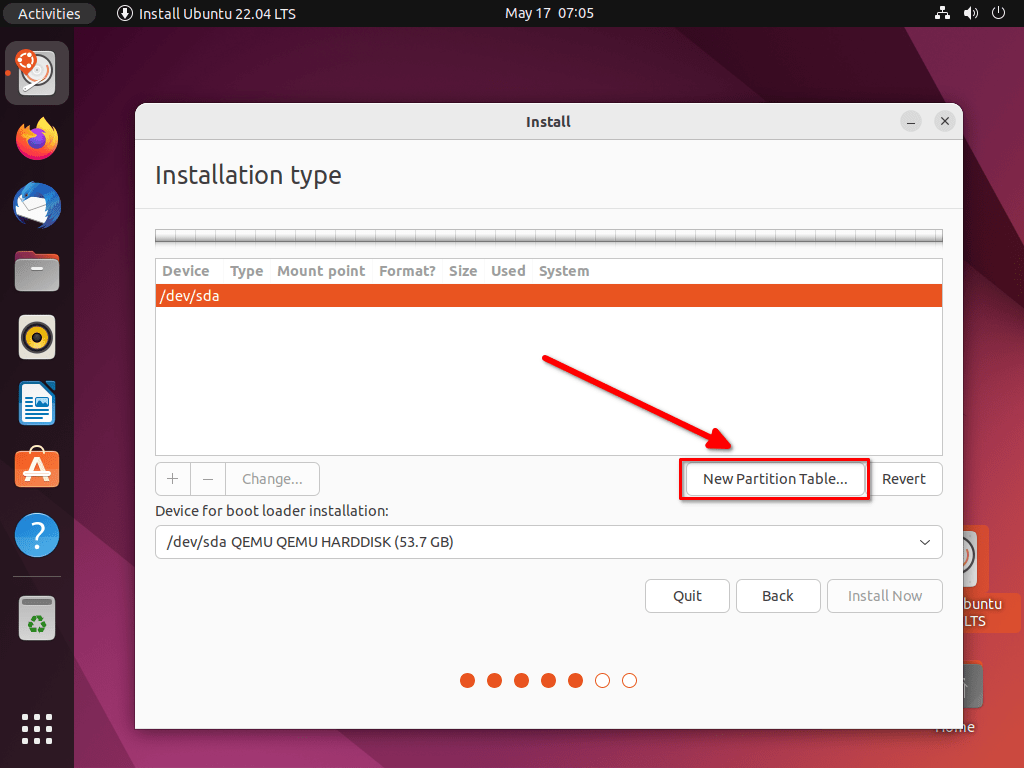
5. Partitioning
-
Create the root partition:
- Use as: Ext4 journaling file system.
- Mount point: /
- Tick the box to format.
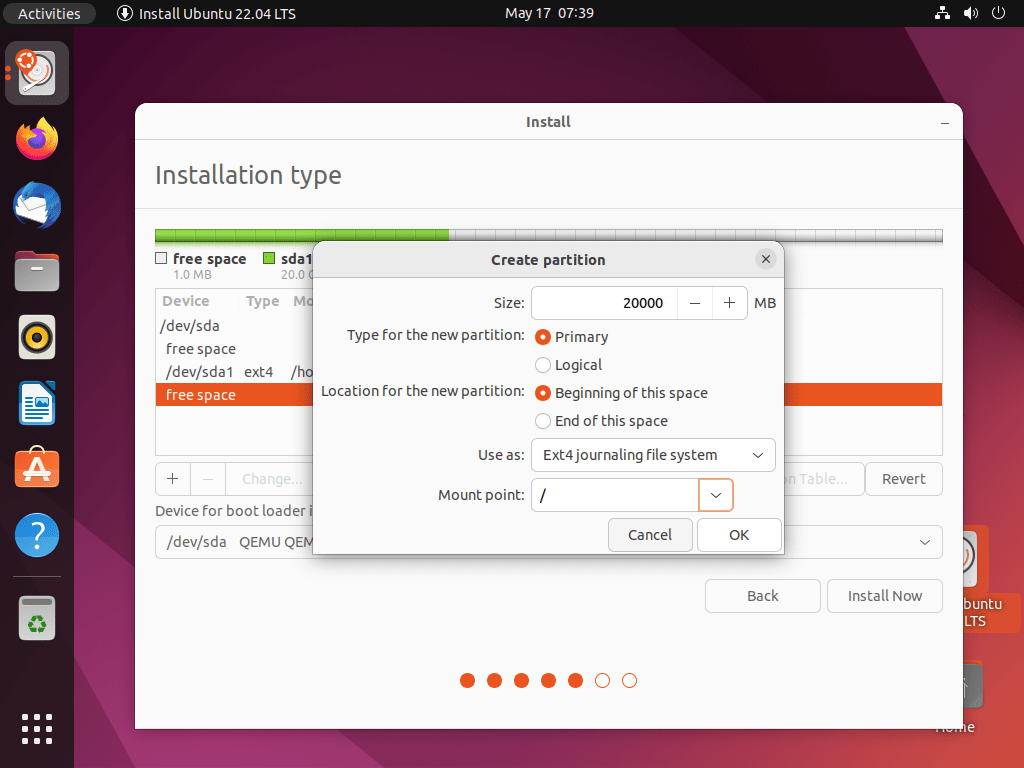
-
Click OK to start the installation.
-
Select your timezone.
7. Deakin WiFi Setup (Optional)
-
Connect to the Deakin Setup WiFi network.
-
It should launch this webpage in your browser.
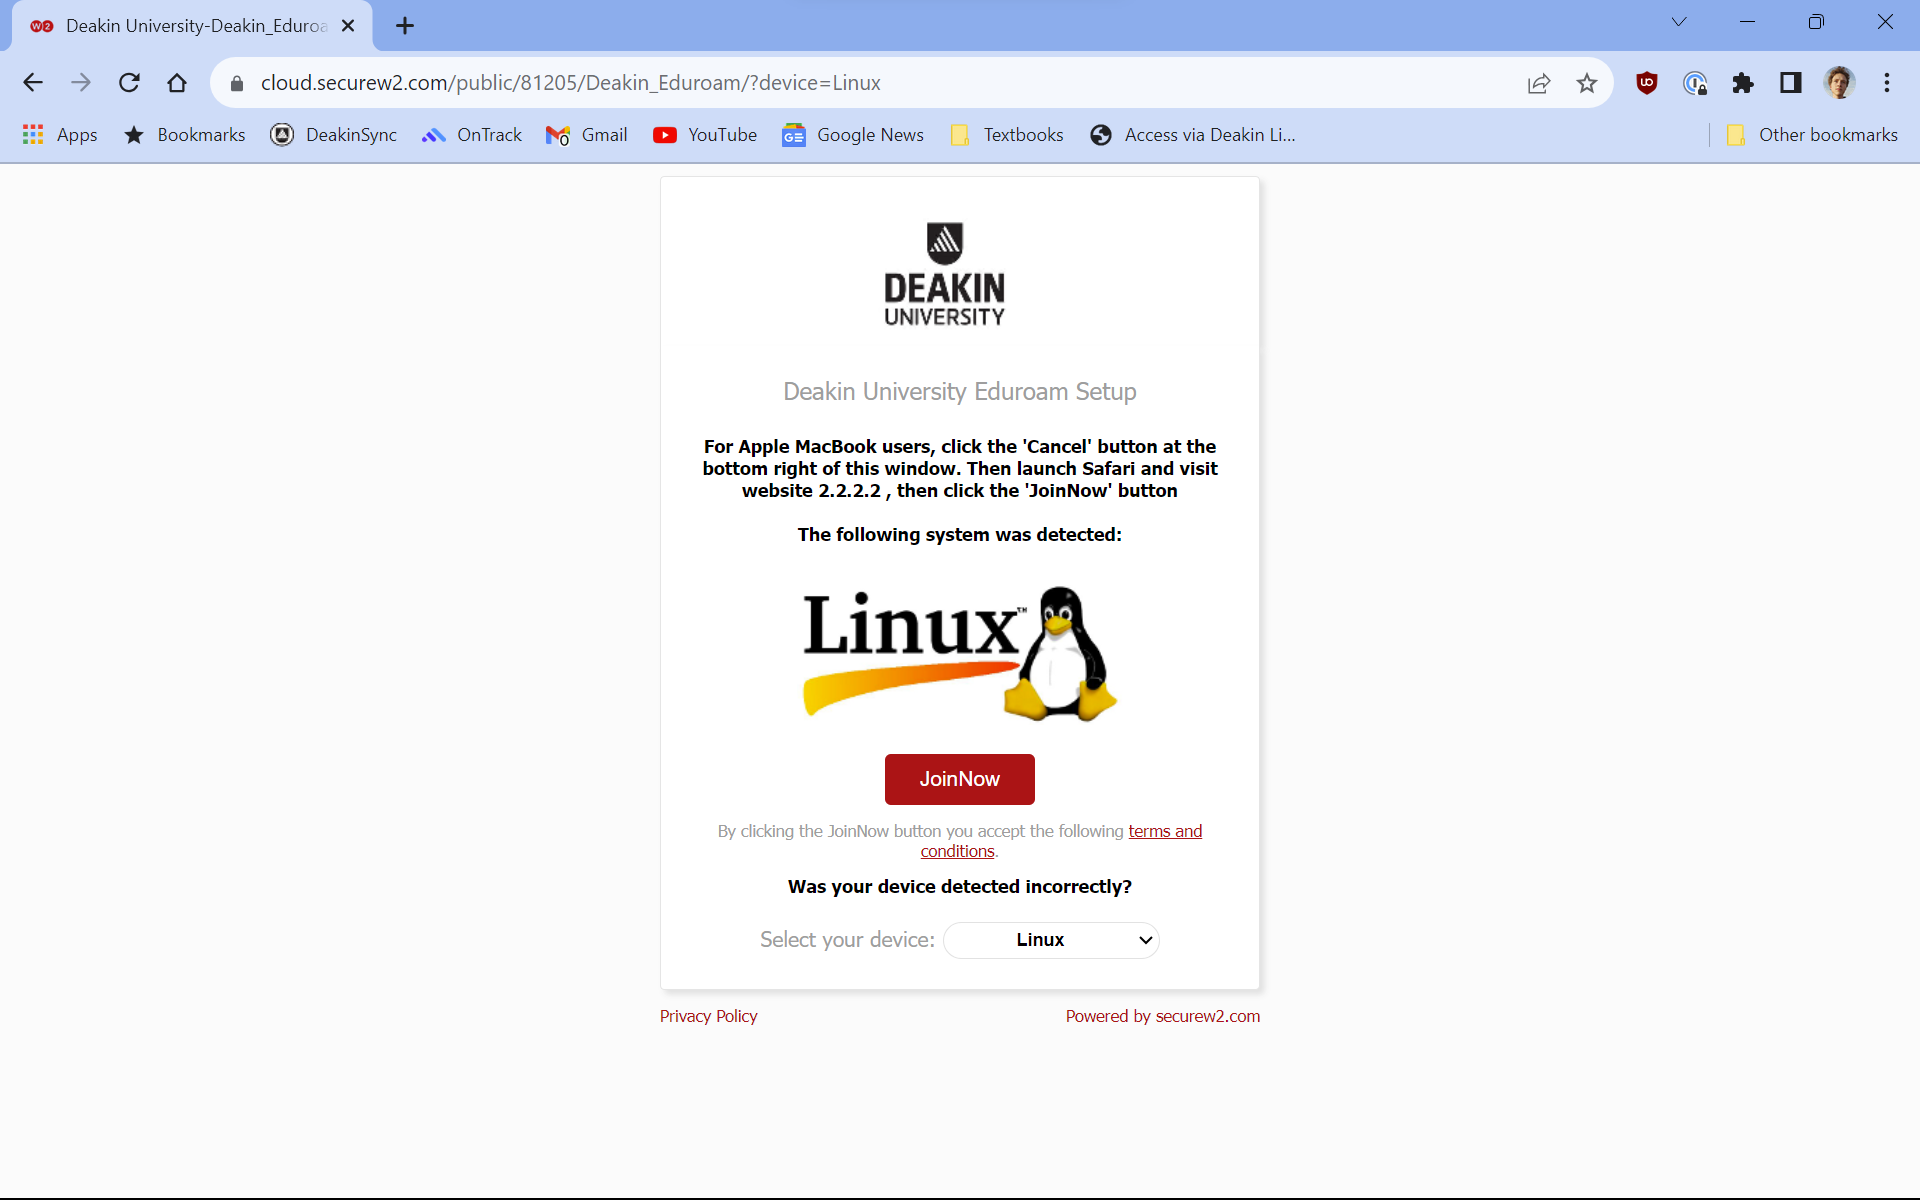
-
Click the JoinNow button to download the setup wizard.
-
Change directory into the
Downloadsfolder in the terminal.Terminal window cd Downloads -
Enter the following command in the terminal to connect to the wifi network and follow the prompts to enter your Deakin username and password.
Terminal window sh SecureW2_JoinNow.run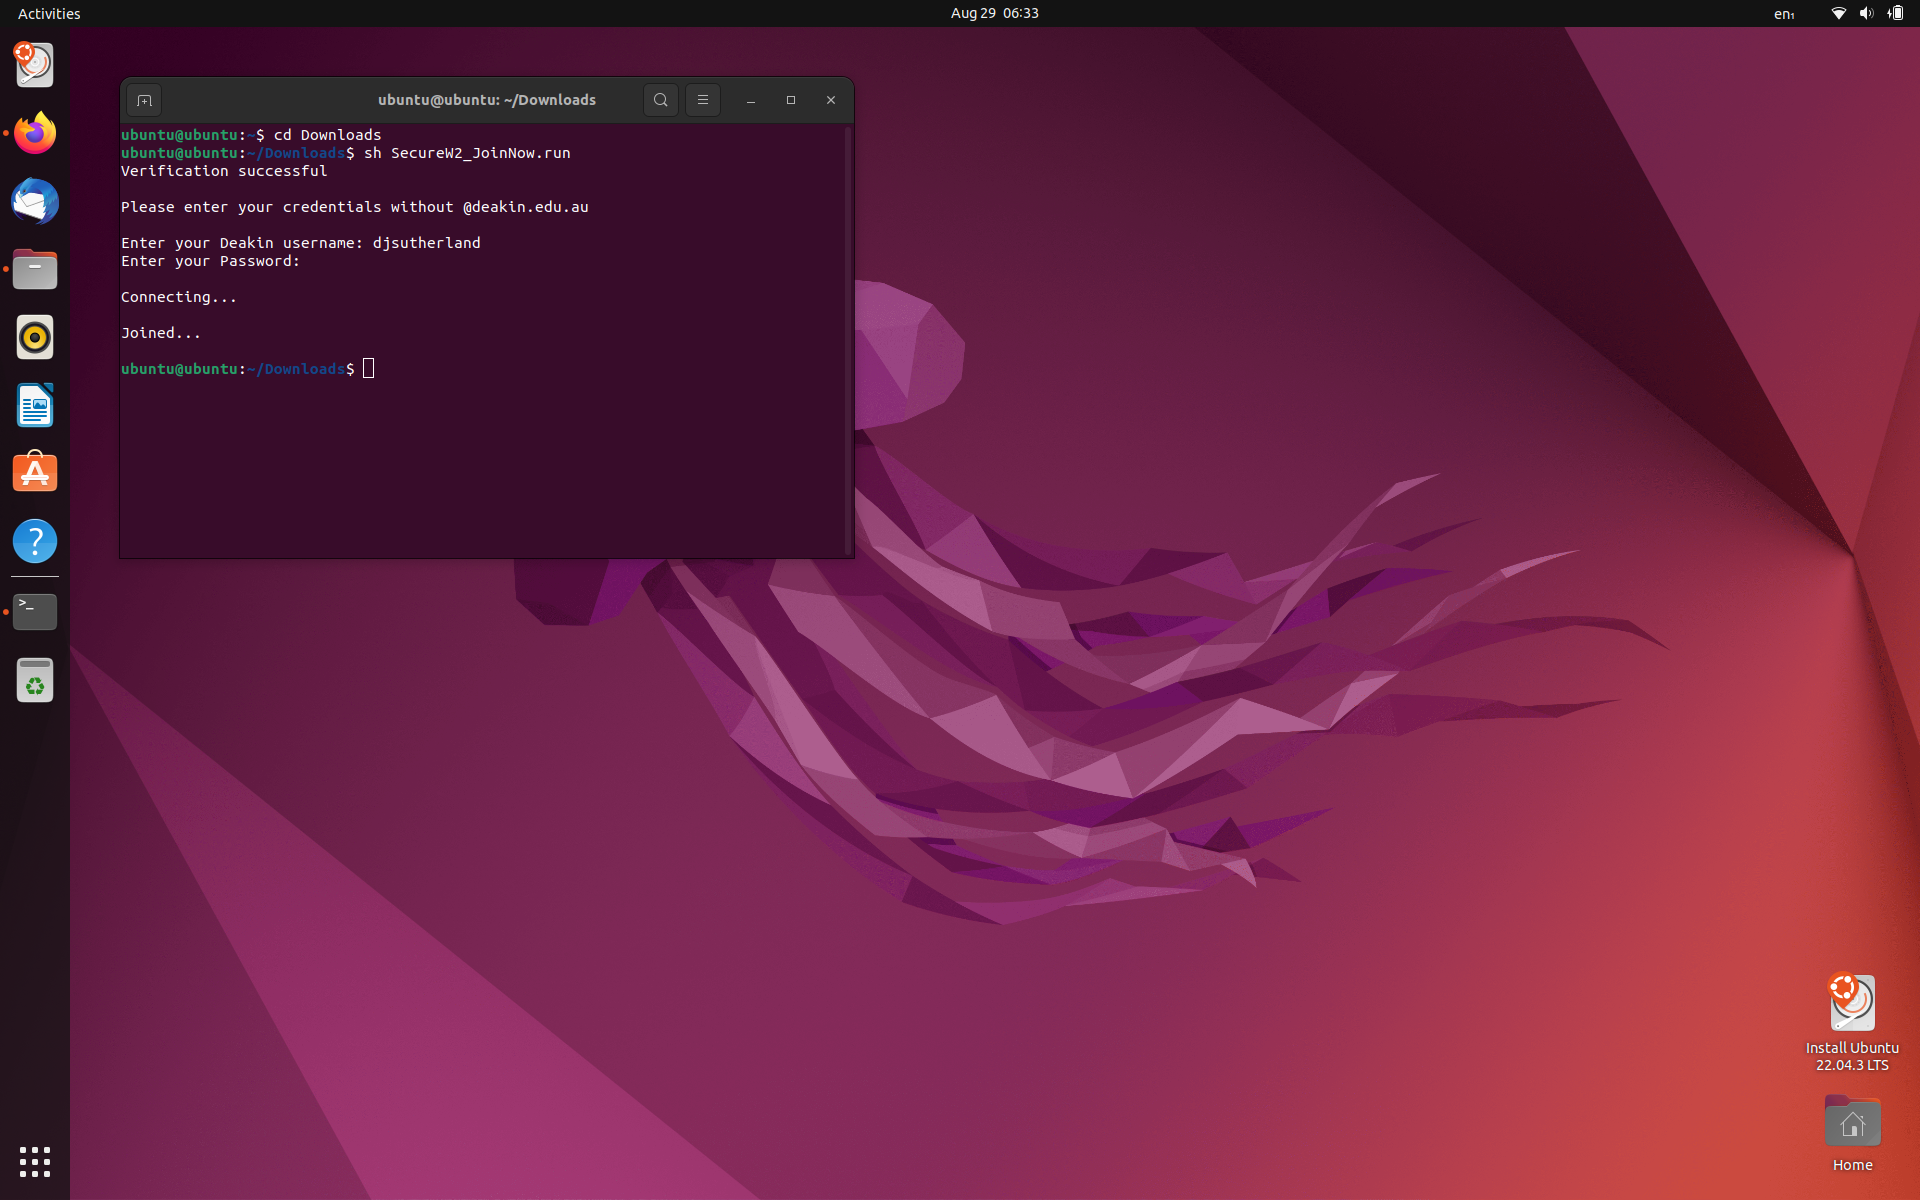
6. Install Additional Software
-
After installation, open a terminal.
-
Install Git:
Terminal window sudo apt install git -
Install Docker
Terminal window sudo apt install docker.io -
Install vscode
Terminal window sudo snap install --classic code
7. Clone OnTrack Repository
-
Clone the OnTrack repository (change
YOUR_USERNAMEto your GitHub username):Terminal window git clone --recurse-submodules git clone https://github.com/YOUR_USERNAME/doubtfire-deploy -
Open the
doubtfire-deployfolder in vscode:Terminal window cd doubtfire-deploycode . -
Run change remotes script in the integrated terminal to change the remote to your own repository.
Terminal window ./change-remotes.shand follow the prompts to enter your GitHub username.
8. Run OnTrack
- After re-opening vscode, the script should automatically run and open the OnTrack application in your browser.
- Happy coding!