
OnTrack Development Environment Setup
Welcome to the comprehensive guide for setting up the OnTrack (Doubtfire) Development Environment. Follow these steps carefully to ensure a smooth configuration.
Step 1: Overview
In this tutorial, we will set up the OnTrack (Doubtfire) Development Environment. Ensure you are familiar with the repositories, as you’ll be working with the Thoth-Tech versions, not the original Doubtfire LMS repositories.
Step 2: Pre-Requisites
Before proceeding, ensure the following are installed and set up:
- Docker: Installed and running in the background.
- Visual Studio Code (VS Code): Your code editor.
- Git: Installed for version control.
- GitHub Account: Required to fork and access repositories.
Step 3: Restart if Needed
If you have faced errors in previous setup attempts, start from scratch. Follow this tutorial step-by-step to avoid missing any crucial details.
Step 4: Accessing the Thoth-Tech Repository
Navigate to the Thoth-Tech GitHub organization and locate these repositories:
- doubtfire-deploy
- doubtfire-api
- doubtfire-web
Make sure you are using the Thoth-Tech versions of these repositories.
Step 5: Fork the doubtfire-deploy Repository
- Open the
doubtfire-deployrepository under Thoth-Tech. - Click on the Fork button in the top-right corner.
- Important: Untick the checkbox for “Copy the main branch only” to include the development branch.
- Click Create Fork.
Step 6: Repeat for doubtfire-api and doubtfire-web
Repeat the forking process for these repositories:
- doubtfire-api
- doubtfire-web
Ensure the development branch is included by unticking “Copy the main branch only”.
Step 7: Open the Terminal and Navigate to Your Folder
- Open a terminal (Command Prompt, PowerShell, or Terminal).
- Use the
cdcommand to navigate to the folder where you want to store the repository. Example:
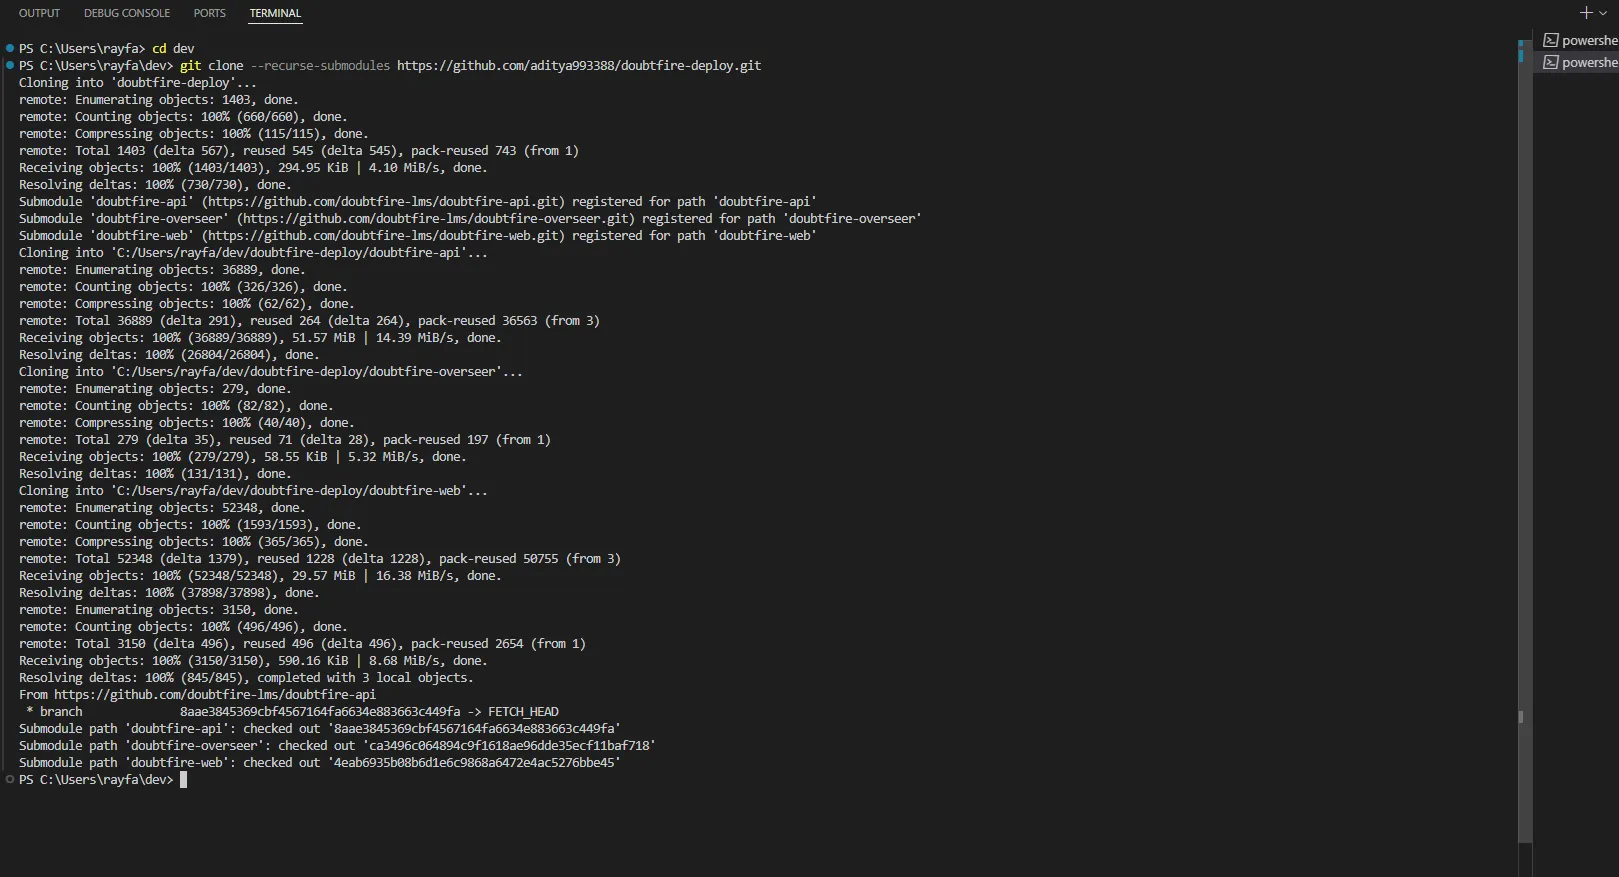
cd devStep 8: Clone the Repository
Clone the doubtfire-deploy repository along with its submodules:
git clone --recurse-submodules https://github.com/<your-username>/doubtfire-deploy.gitReplace <your-username> with your GitHub username. Example:
git clone --recurse-submodules https://github.com/aditya993388/doubtfire-deploy.gitStep 9: Wait for the Cloning Process
The terminal will display the cloning progress for the repository and its submodules (e.g.,
doubtfire-api, doubtfire-overseer, doubtfire-web). Wait until the process completes.

Step 10: Navigate into the Cloned Repository
Navigate into the cloned repository:
cd doubtfire-deployStep 11: Check Current Remote Settings
Verify the current remote settings:
git remote -vEnsure only the origin is set, pointing to your forked repository.
Step 12: Add the Upstream Remote
Add the upstream remote to point to the Thoth-Tech repository:
git remote add upstream https://github.com/thoth-tech/doubtfire-deploy.gitThis ensures that upstream points to the Thoth-Tech version, not the original LMS repository.

Step 13: Verify Remote Settings
Verify the upstream remote setup:
git remote -vEnsure both origin and upstream are listed correctly:
- Origin: Points to your forked repository.
- Upstream: Points to Thoth-Tech’s repository.

Step 14: Switch to the Development Branch
By default, the repository is on the main branch. Switch to the development branch:
git switch developmentVerify the switch by running:
git branchThe * symbol next to development confirms you are on the correct branch.

Step 15: Navigate to the Front-End Repository
- Change your directory to the
doubtfire-websub-repository:Terminal window cd doubtfire-web
Step 16: Check Current Remote Settings
-
Use the following command to view the current remote settings:
Terminal window git remote -v- You should see
originpointing to the forked repository.
- You should see
Step 17: Add the Upstream Remote
- Add the upstream remote to point to the Thoth-Tech repository:
Terminal window git remote add upstream https://github.com/thoth-tech/doubtfire-web.git
Step 18: Verify the Upstream Remote
-
Run the following command again to confirm the upstream remote is configured correctly:
Terminal window git remote -v- Ensure both
originandupstreamare set properly.
- Ensure both

Step 19: Update the Origin Remote URL
-
Update the
originto point to your forked repository:Terminal window git remote set-url origin https://github.com/aditya993388/doubtfire-web.git- This ensures that all your changes and pushes will go to your forked repository.

Step 20: Verify Updated Remote URLs
-
Run the following command to check the updated remote settings:
Terminal window git remote -v- Verify the following:
- Origin: Points to your forked repository
(
https://github.com/aditya993388/doubtfire-web.git). - Upstream: Points to the Thoth-Tech repository
(
https://github.com/thoth-tech/doubtfire-web.git).
- Origin: Points to your forked repository
(
- Verify the following:

Step 21: Switch to the Development Branch for doubtfire-web
-
Ensure you are working on the correct branch by switching to the
developmentbranch:Terminal window git switch development -
Verify the branch by using:
Terminal window git branch- The
*symbol next todevelopmentconfirms you are on the correct branch.
- The
Step 22: Pull the Latest Updates for doubtfire-web
-
After switching to the
developmentbranch, pull the latest updates from the repository to ensure you have the most recent changes:Terminal window git pull- This fetches and merges all updates from the
origin/developmentbranch.
- This fetches and merges all updates from the

Step 23: Update the Git Origin for doubtfire-deploy
-
Navigate back to the
doubtfire-deploydirectory using the command:Terminal window cd .. -
Check the current remote URLs with:
Terminal window git remote -v -
Notice that the
originURL might be missing the.gitextension. -
Update the
originto include the.gitextension using:Terminal window git remote set-url origin https://github.com/aditya993388/doubtfire-deploy.git -
Verify the changes by running:
Terminal window git remote -v- Ensure the
originnow points to the correct URL with the.gitextension.
- Ensure the
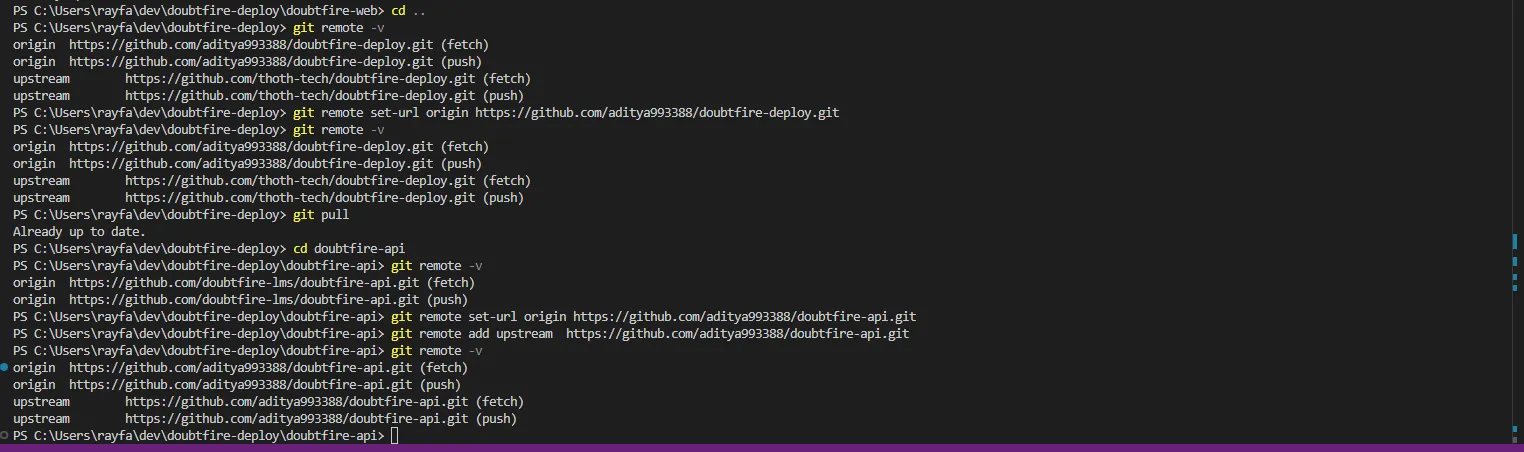
Step 24: Perform a Git Pull and Configure Remotes for doubtfire-api
-
Ensure the
doubtfire-deployrepository is up-to-date by running:Terminal window git pull- If it is already up to date, proceed.
-
Navigate to the
doubtfire-apisub-repository:Terminal window cd doubtfire-api -
Check the current remote URLs with:
Terminal window git remote -v- At this stage, only the
originremote is configured.
- At this stage, only the
-
Update the
originto point to your version of thedoubtfire-apirepository:Terminal window git remote set-url origin https://github.com/aditya993388/doubtfire-api.git -
Add the
upstreamremote to point to the Thoth-Tech version of thedoubtfire-apirepository:Terminal window git remote add upstream https://github.com/thoth-tech/doubtfire-api.git -
Verify that both
originandupstreamare correctly configured:Terminal window git remote -v- Ensure
originpoints to your repository andupstreampoints to Thoth-Tech’s repository.
- Ensure
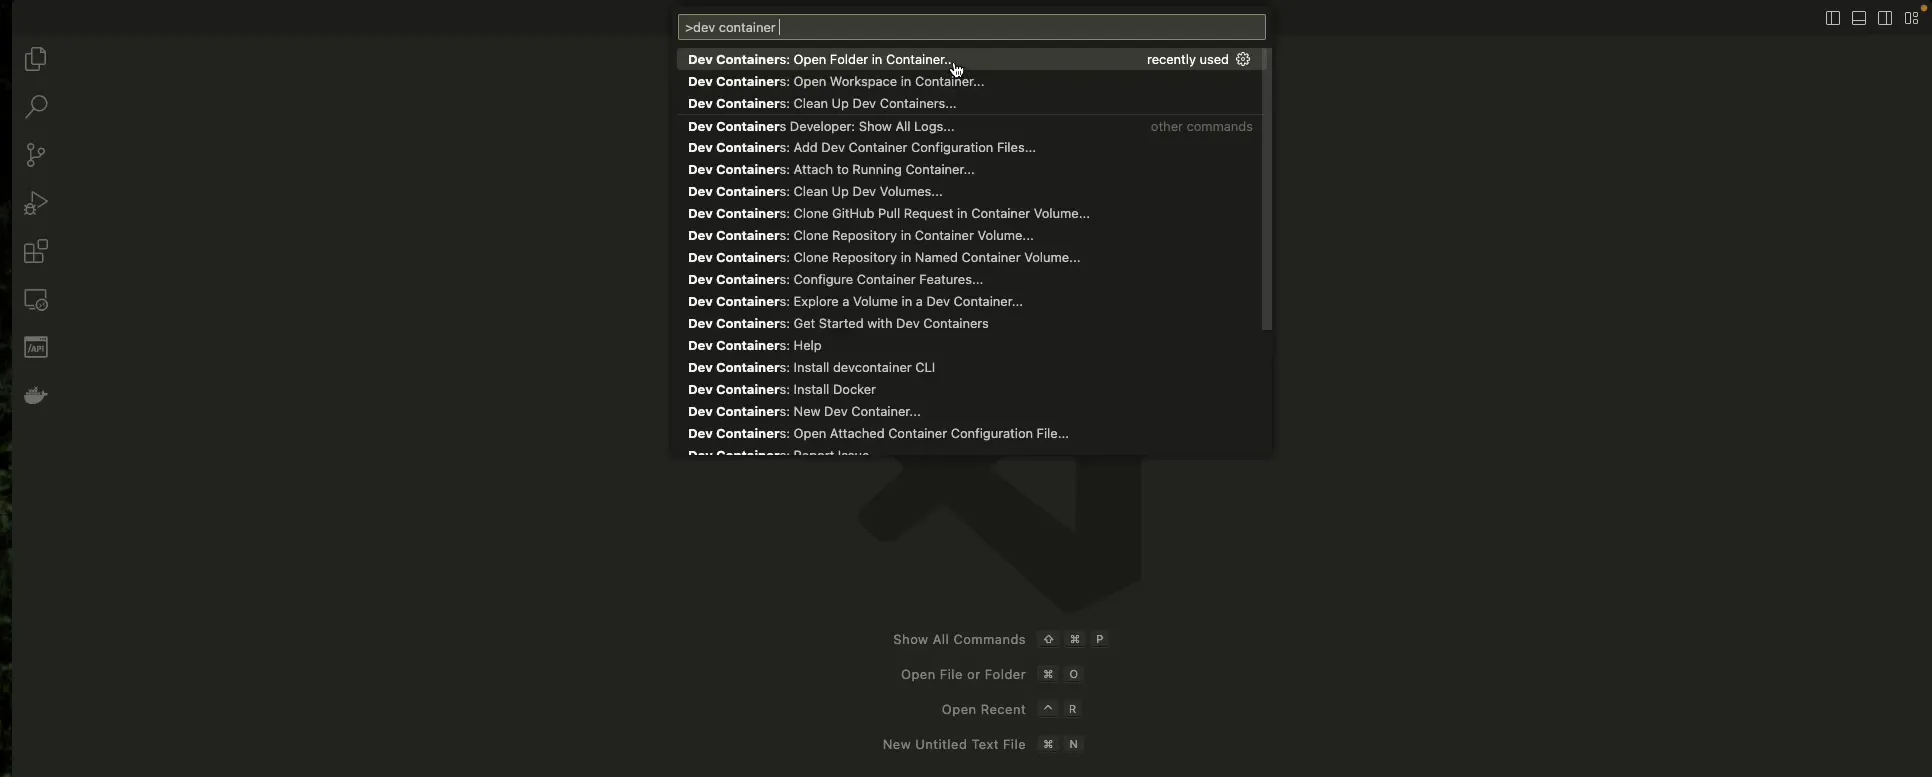
Step 25: Accessing Dev Containers via VS Code
- Exit the terminal and open Visual Studio Code (VS Code).
- Press
Command + Shift + P(on Mac) orCtrl + Shift + P(on Windows/Linux) to open the VS Code Command Panel. - In the Command Panel, search for Dev Containers.
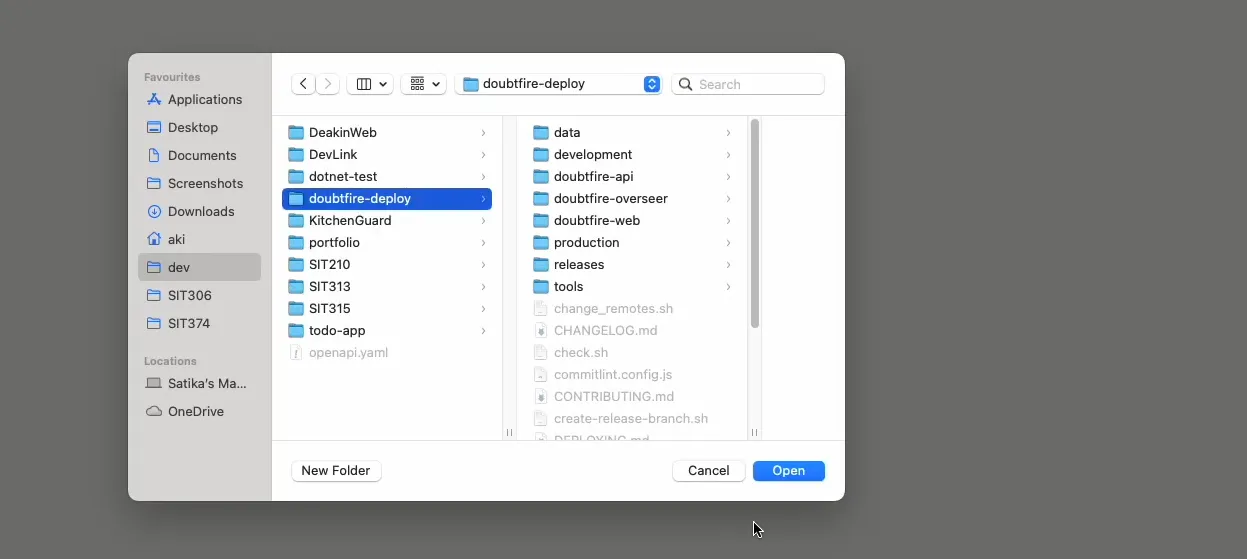
- Select the option Dev Containers: Open Folder in Container… from the list.
- Before proceeding, ensure that Docker is running in the background.
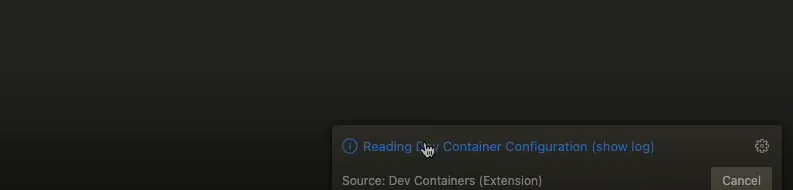
Step 26: Reading Dev Container Configuration
- Once the folder opens in the container, look for the Reading Dev Container Configuration (show log) message in the bottom-right corner of VS Code.
- Click on (show log) to view the progress and ensure everything is being set up correctly.
- If it’s your first time setting up the container, expect the process to take some time as it configures all necessary components.
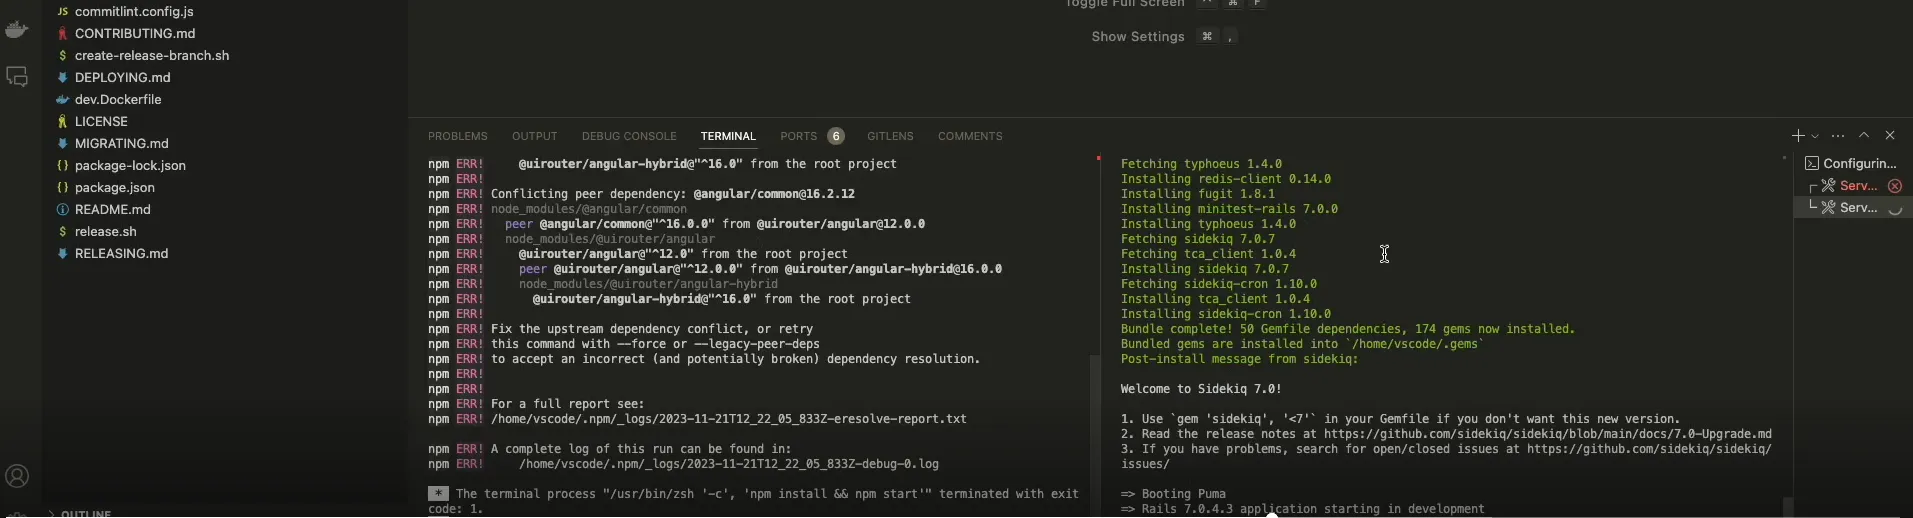
Step 27: Running the Front-End and Back-End Applications
- At this stage, the front-end application is running on the left terminal, while the back-end (server) is active on the right terminal.
- Note: It’s common to encounter errors during the first run of the front-end. These may relate to missing dependencies or configuration conflicts.
- Review the error messages carefully. For issues like dependency conflicts, try resolving them with
appropriate commands such as
npm installor check the error log paths mentioned in the terminal for further details.

Step 28: Navigating to doubtfire-web and Resolving Dependencies
- Open a new terminal window in your development environment.
- Use the command
cd doubtfire-webto navigate into thedoubtfire-webdirectory. - Run the command
npm install -fto forcefully install and resolve any missing dependencies for the front-end application.- This command ensures that all required packages are installed and any conflicting dependencies are resolved.
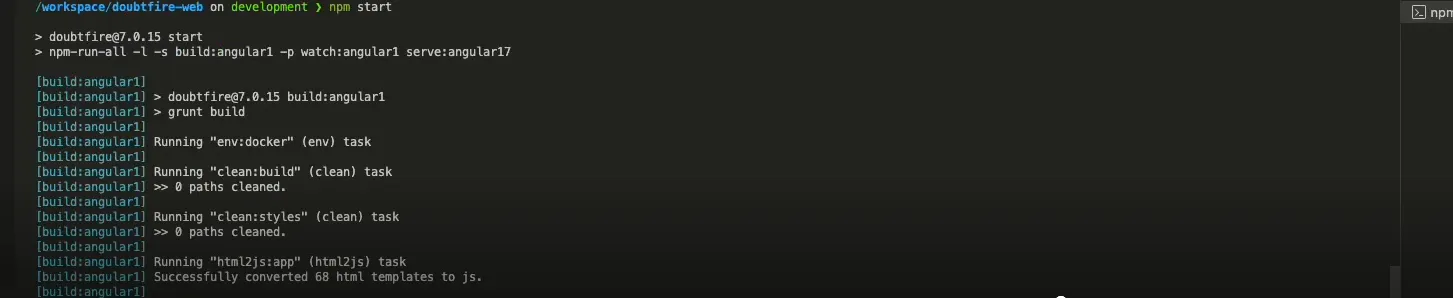
Step 29: Run the Frontend
-
Run the frontend with npm: Open a terminal in the
doubtfire-webdirectory and run:Terminal window npm start- This will build and run the frontend application. If successful, it will host the application
locally on port
4200.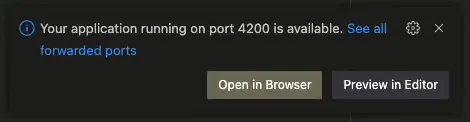
- This will build and run the frontend application. If successful, it will host the application
locally on port
-
Confirmation Notification: Once the frontend is running, you will see a notification in the bottom-right corner of your Visual Studio Code window indicating that the application is available on
localhost:4200.

Step 30: Verify the Running Application
- Open the Ports Panel in Visual Studio Code to see all forwarded ports and their statuses.
- Locate the forwarded address for port
4200. - Hover over the address and click on the globe icon to open the application in your default browser.
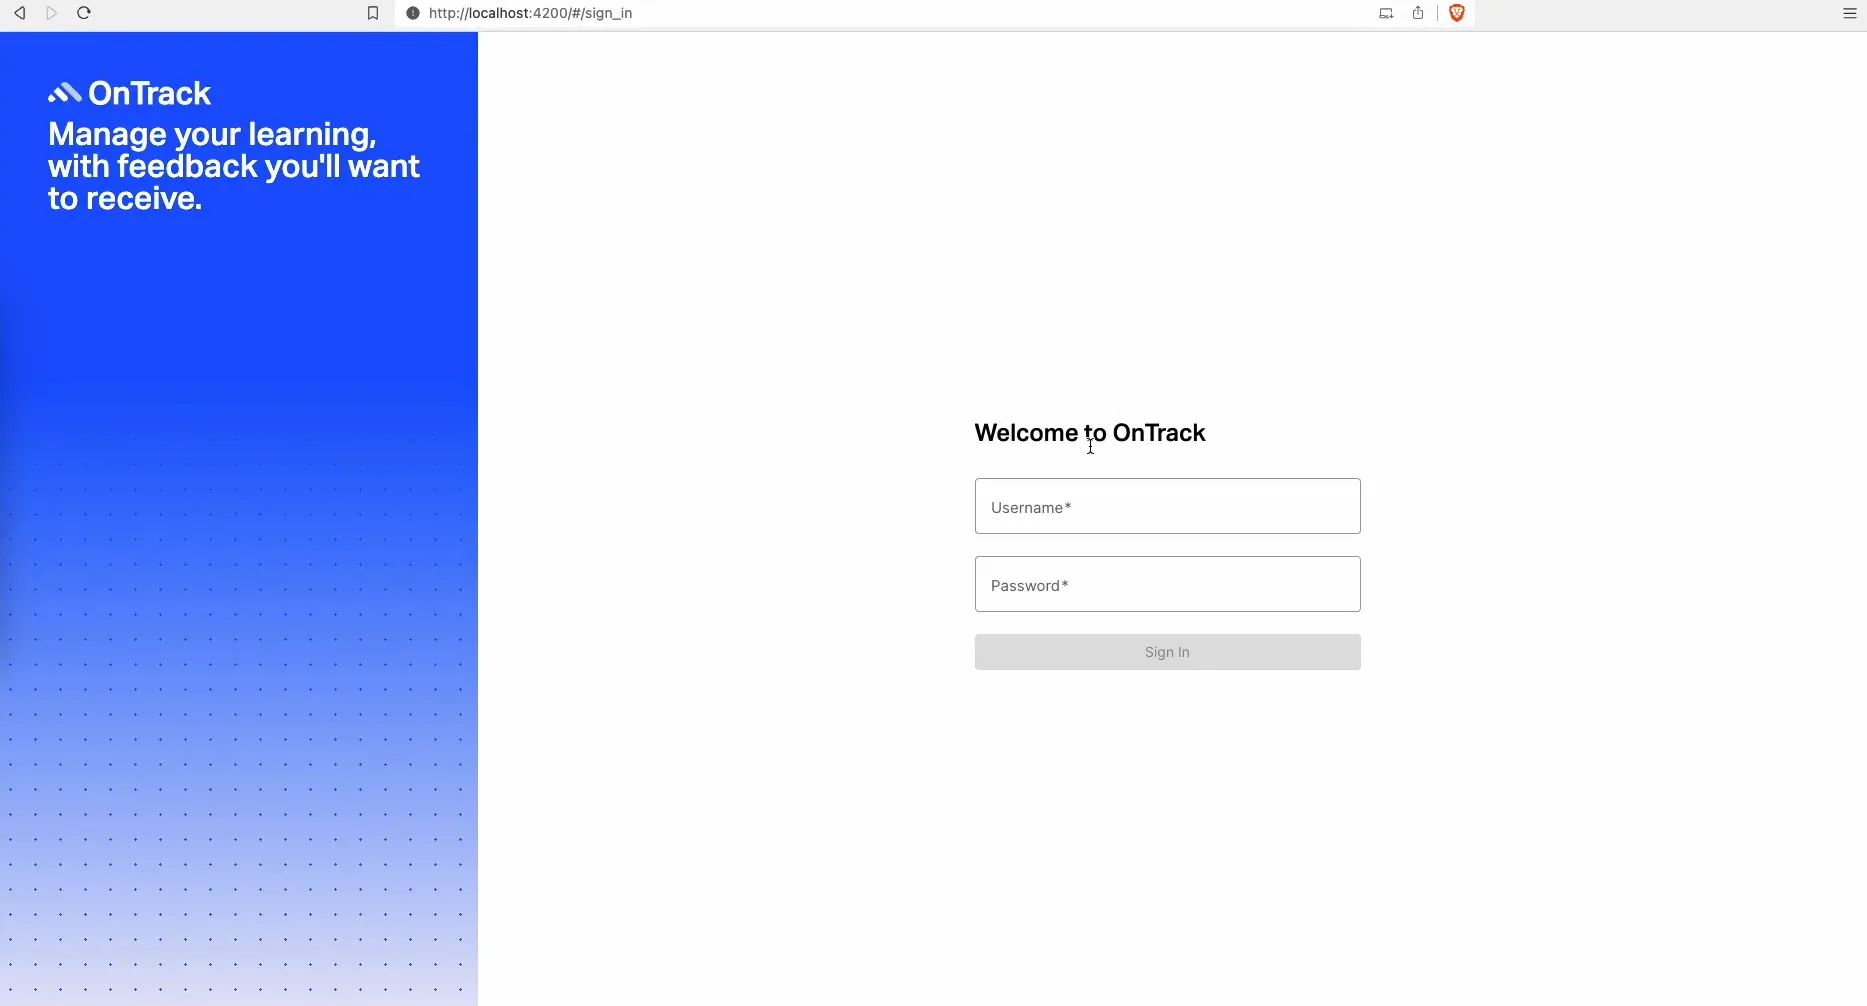
- If everything is configured correctly, the OnTrack application login page will open in your browser.
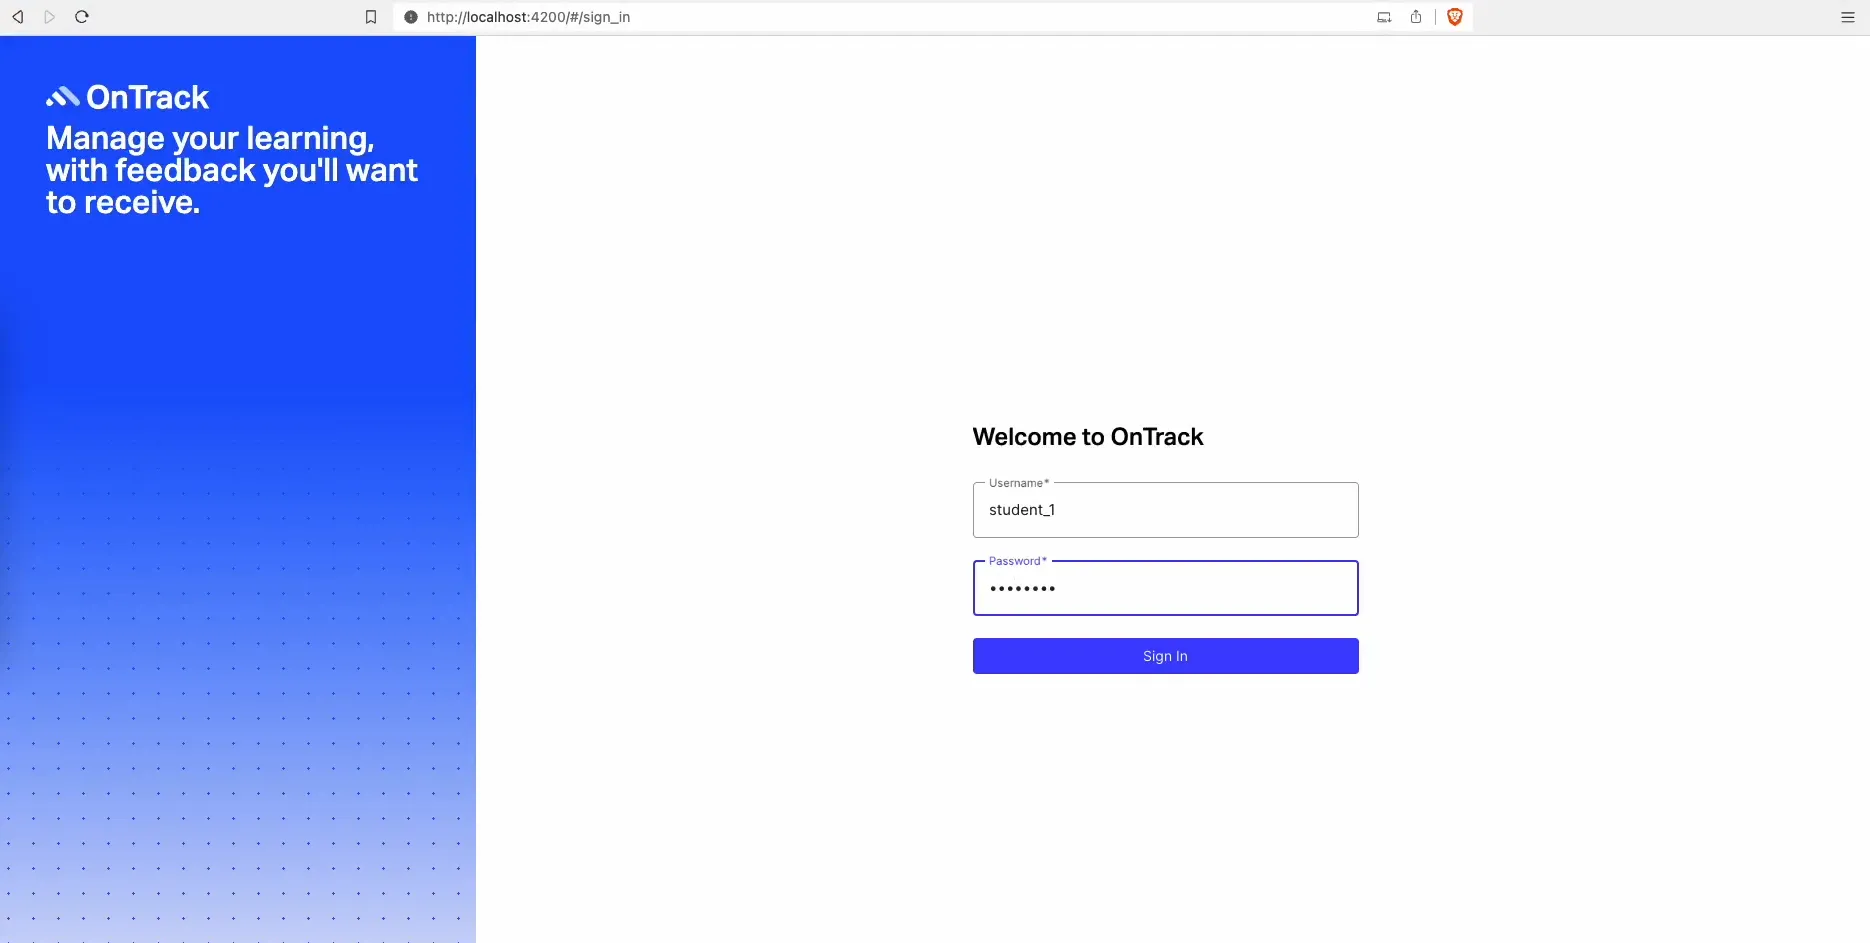
Step 31: Log In to OnTrack
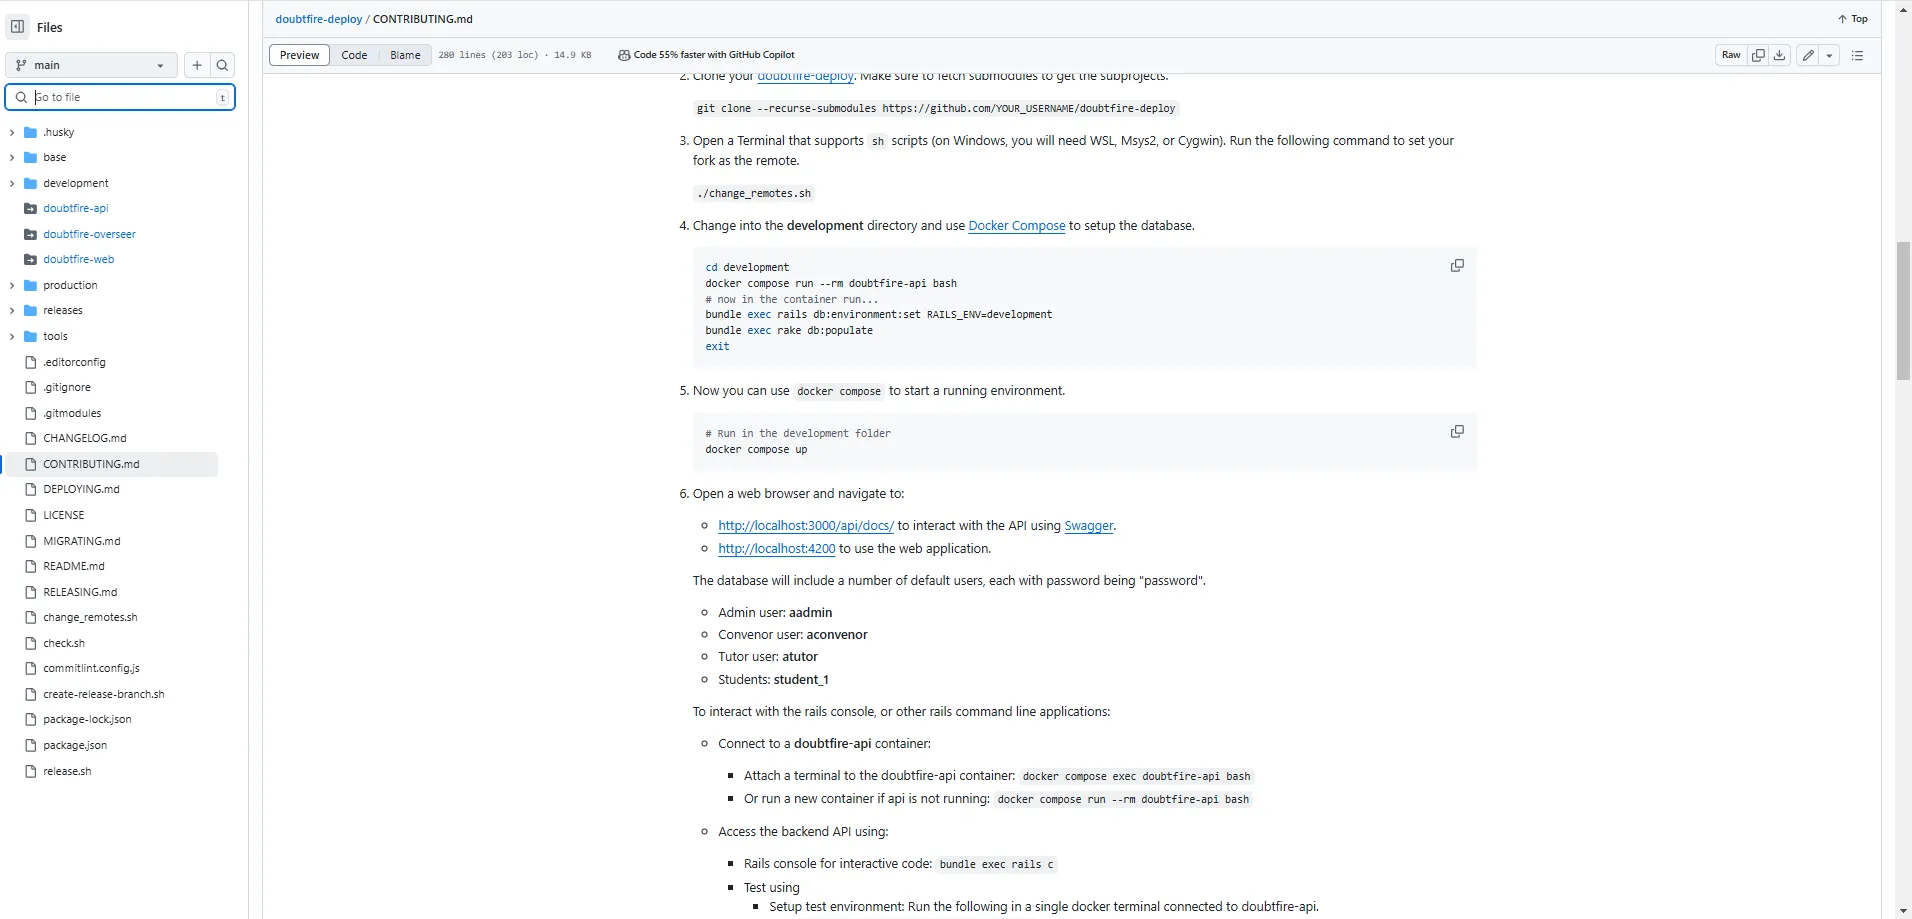
- Use the default credentials provided in the
CONTRIBUTING.mdfile. Example:- Username:
student_1 - Password: Type any placeholder password as this is just for testing.
- Username:
- Enter the credentials on the login page and click Sign In to log in successfully.
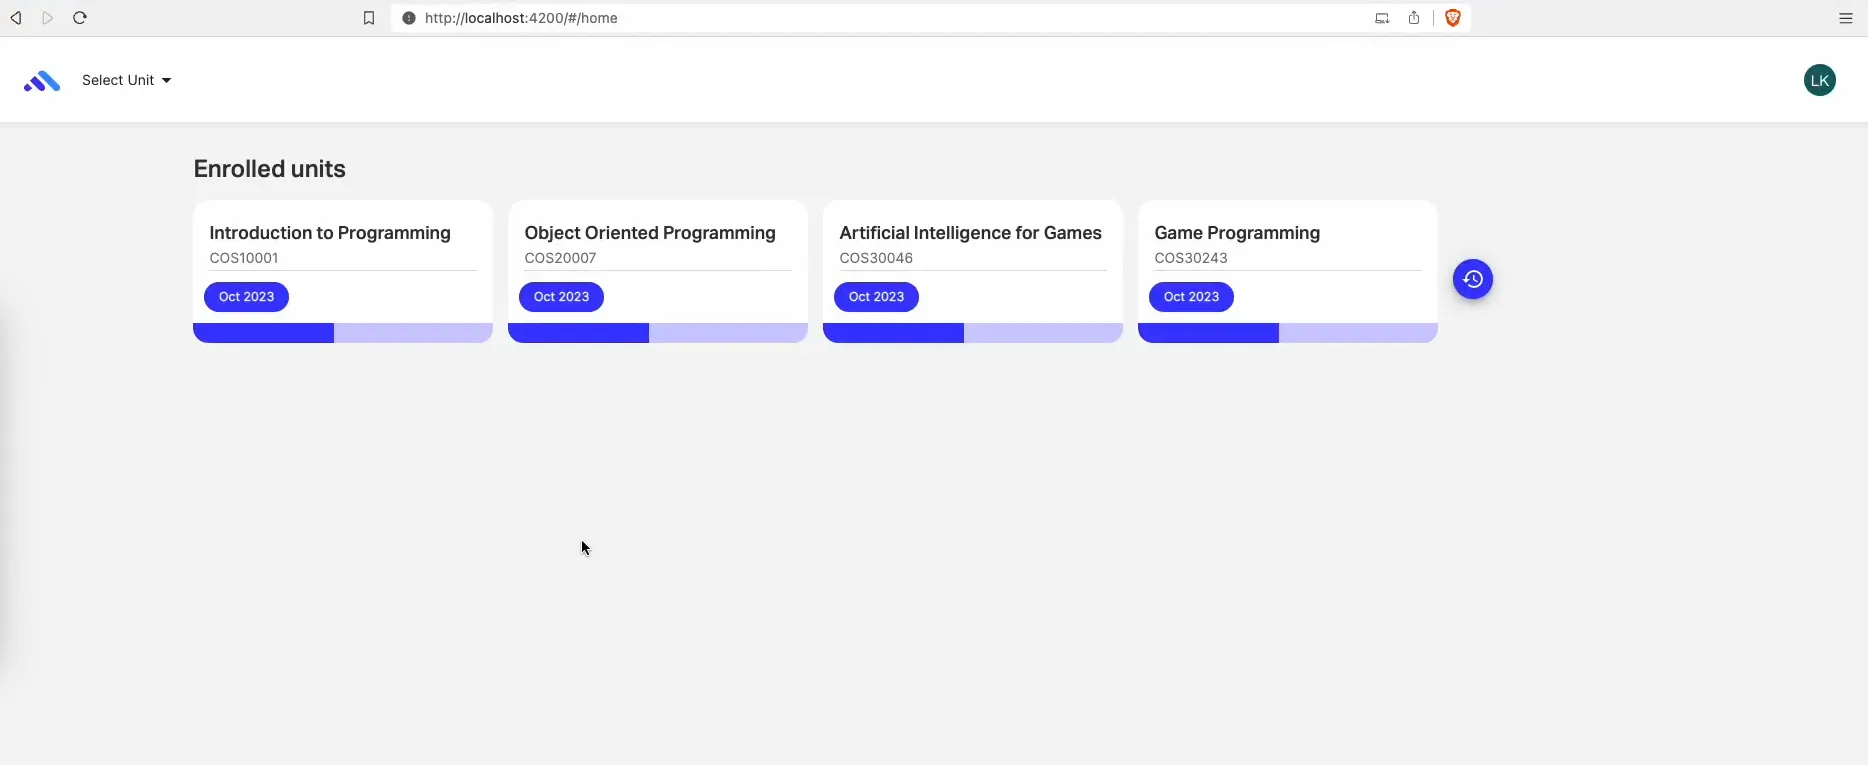
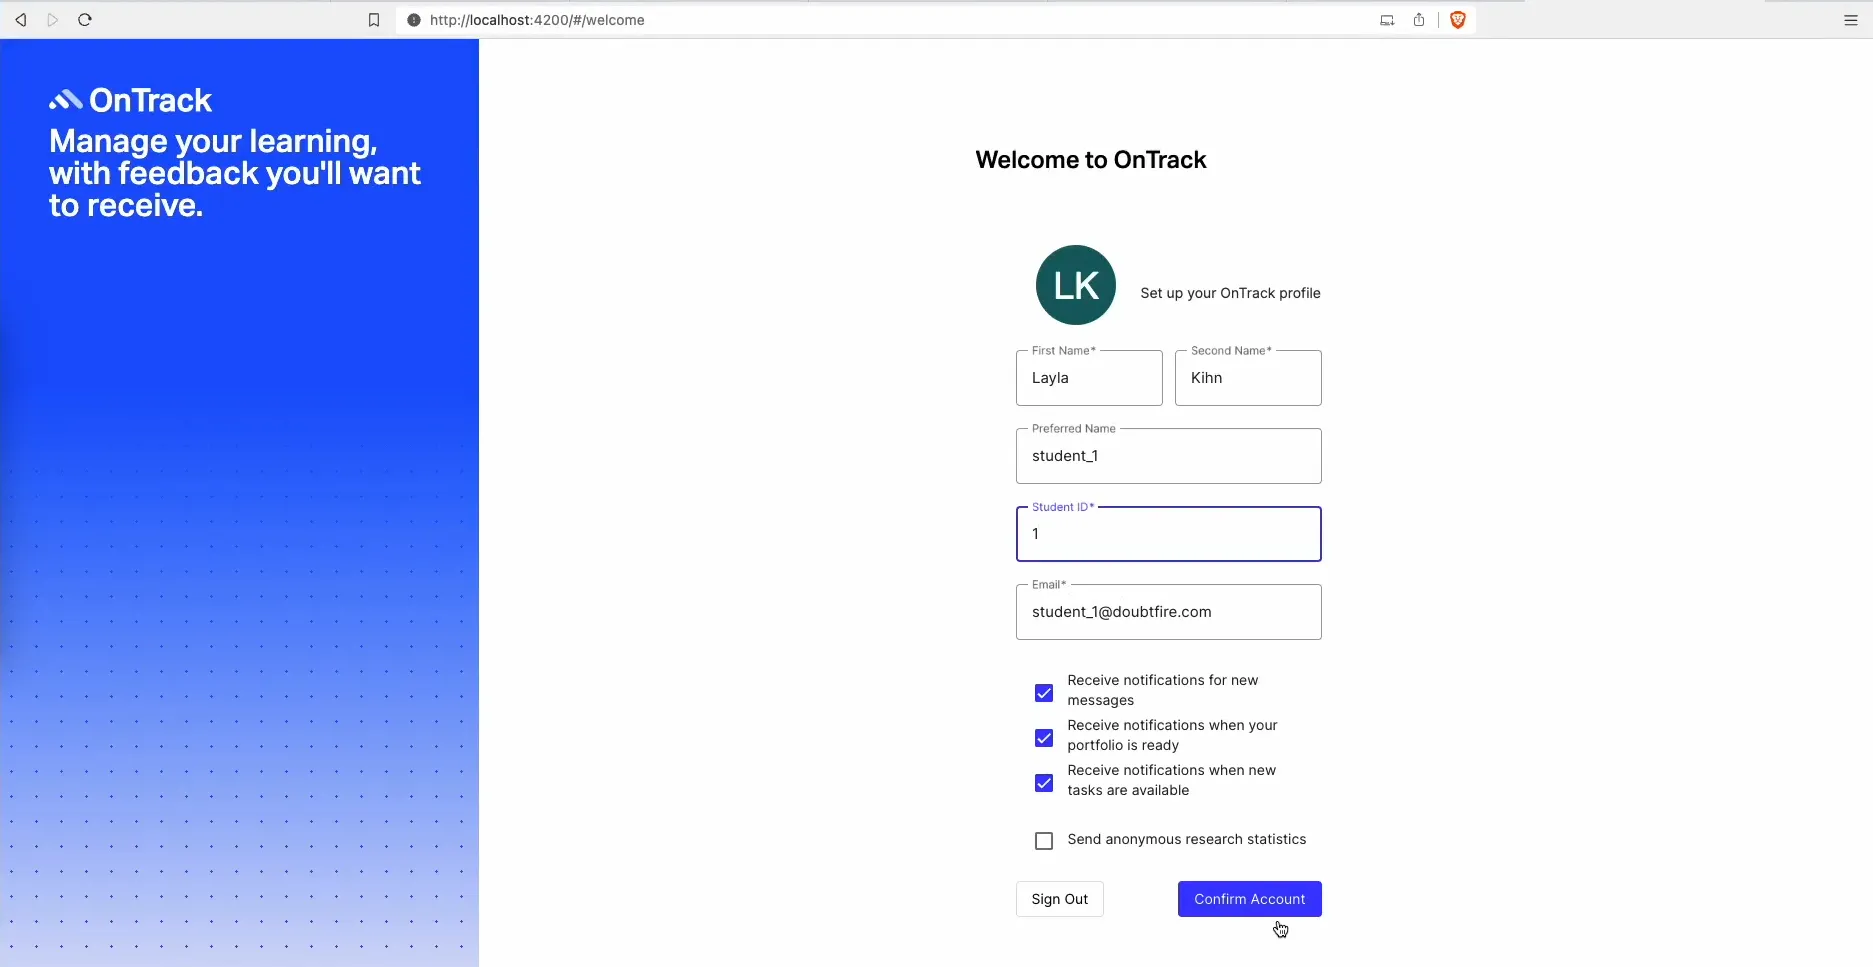
Step 32: Exploring the Dashboard
-
After logging in, you’ll be directed to the dashboard showing Enrolled Units. Examples:
- Introduction to Programming
- Object-Oriented Programming
- Artificial Intelligence for Games
- Game Programming
-
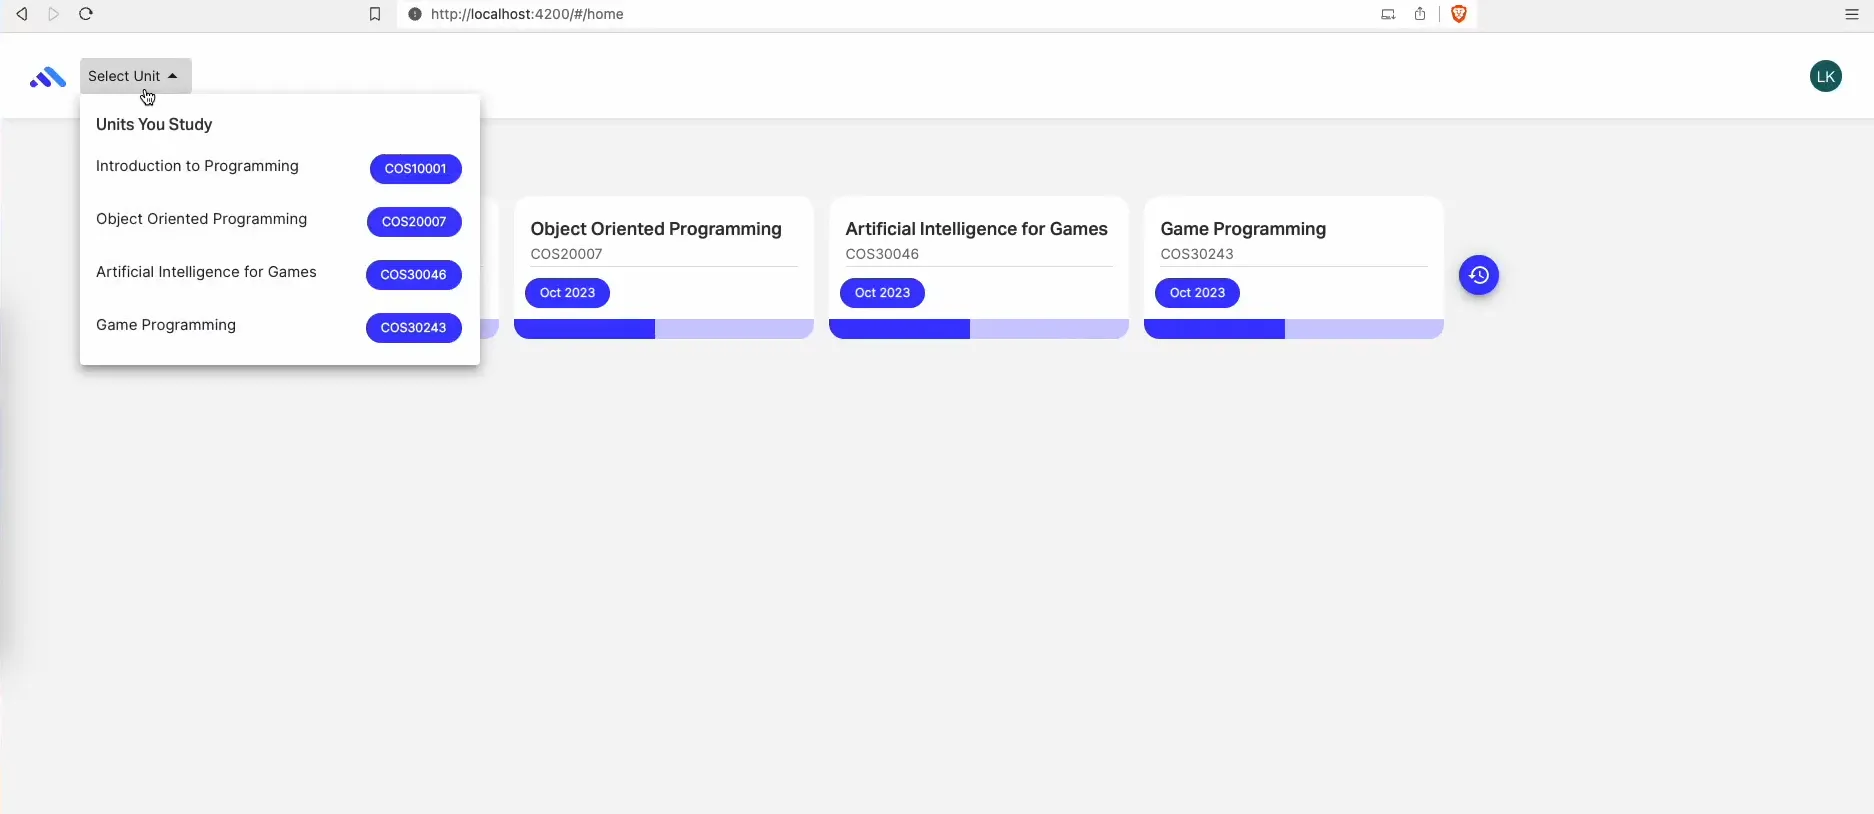
Interact with the dashboard by:
- Clicking on any enrolled unit to view details such as assignments and grades.
- Using the “Select Unit” dropdown in the top-left corner to switch between units.
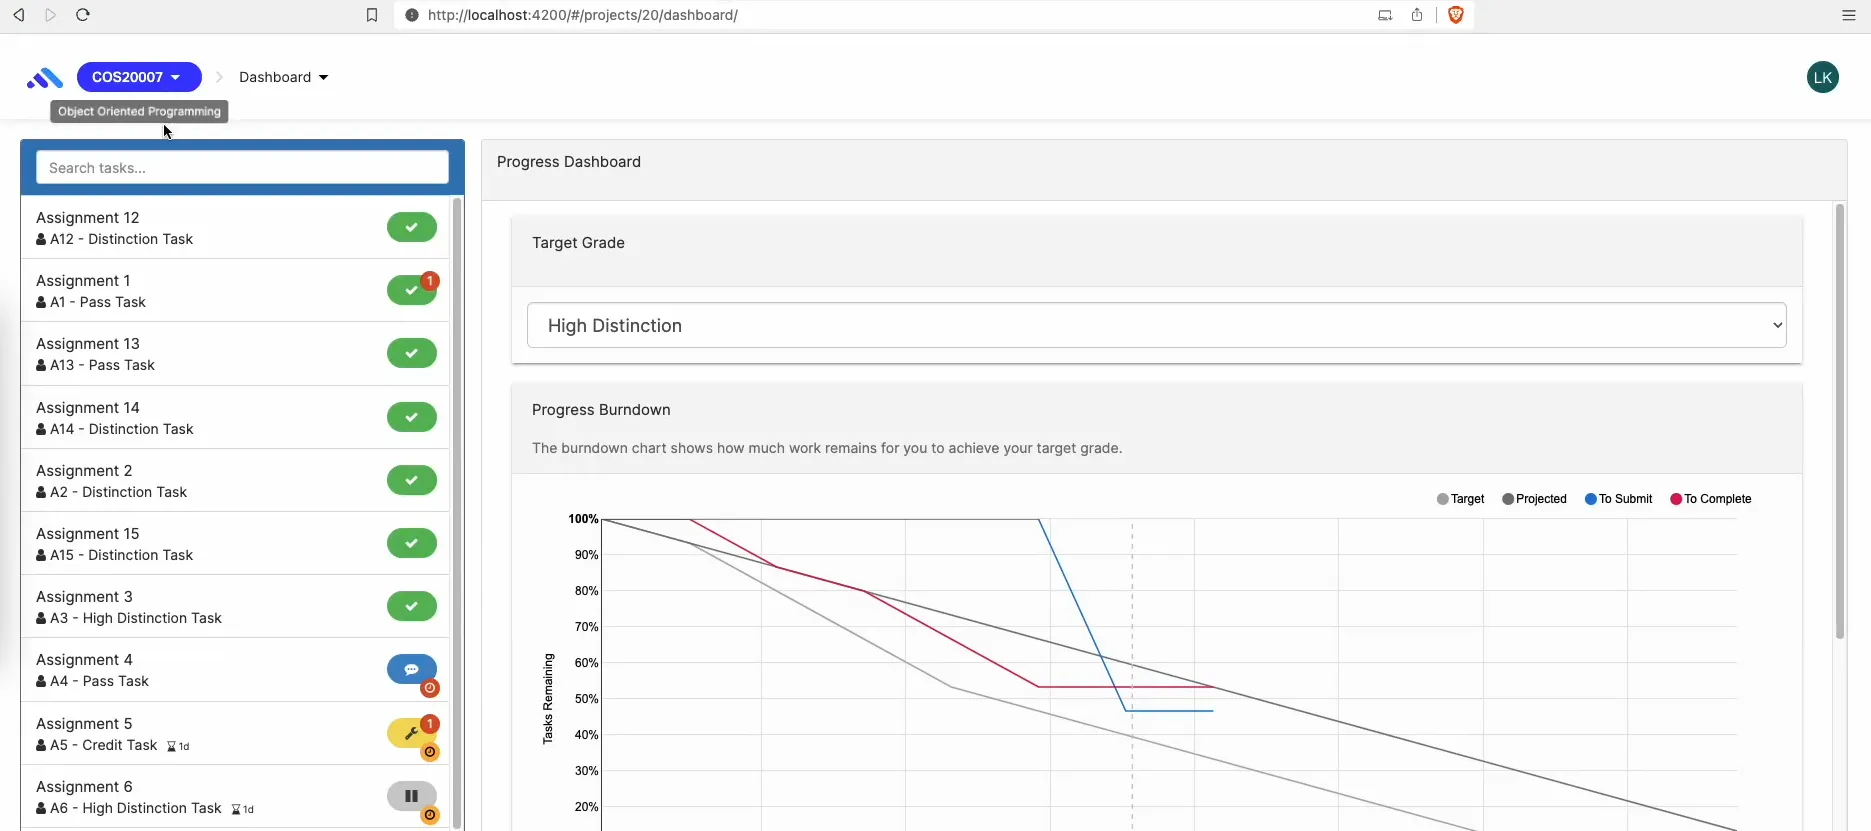
-
Progress Dashboard:
- Inside each unit, review individual assignments (e.g., Pass Tasks, Distinction Tasks).
- Analyze your performance using tools like the Burndown Chart.
Reach out to your mentors or attend the Help-Hub for any queries.